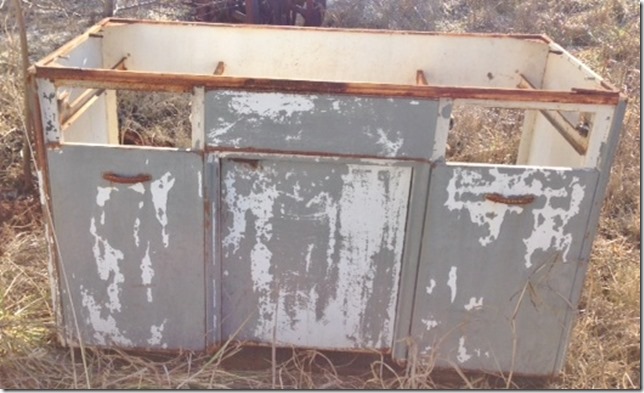
It all started with a cabinet sitting in a friend’s pasture. I fell in love and knew instantly we could save this cabinet and make it a useful piece for our home!
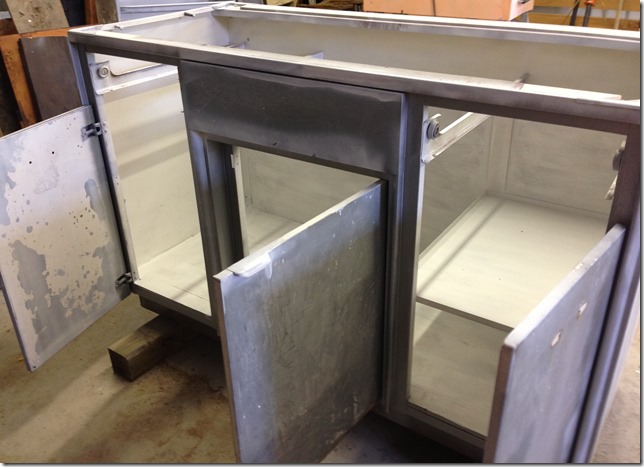
Here is how we found her. I know you think I crazy but I fell in love!
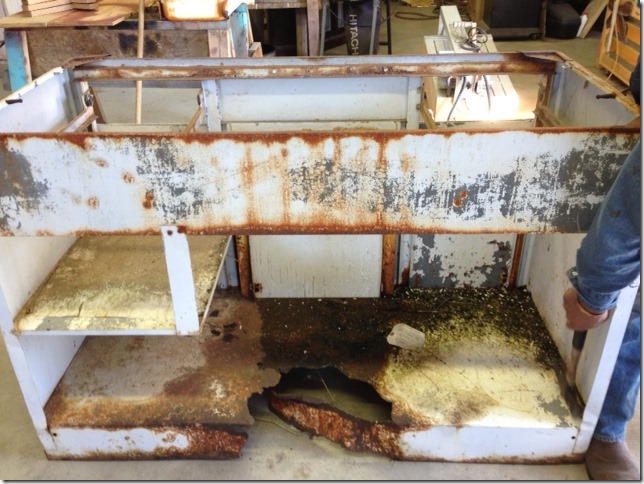
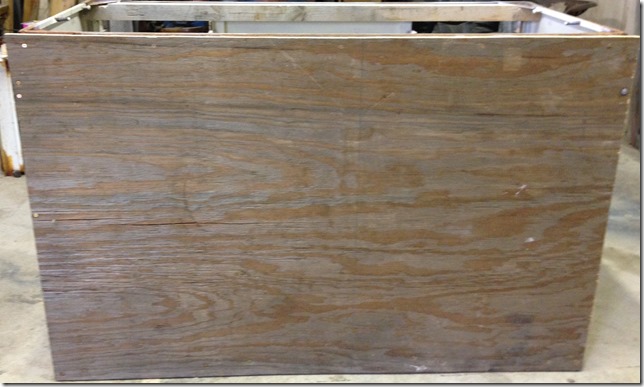
This is the back view. I know it looks pretty bad but I have my (Honey). By the way, he can
work miracles on anything metal or wood!
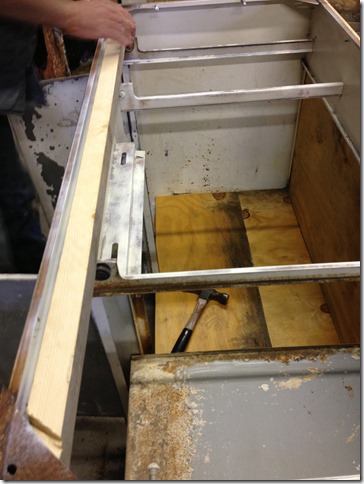
He used plywood scraps to shore up the bottom and backs of the cabinet.
The plywood also helped to make the cabinet square and strong again.
First coat of Kiltz.
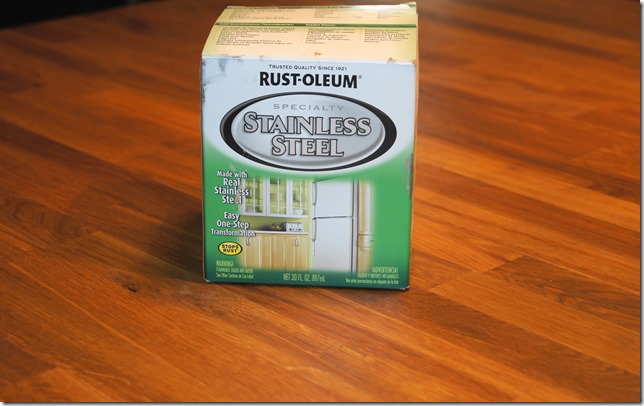
A couple of years back I found three quarts of Rust-Oleum Stainless Steel Paint on clearance at
Home Depot for $5.00 a quart. Yes, I bought all three quarts just knowing one day the right project would come along![]()
I only used one quart of the stainless steel paint. I wasn’t for sure how easy this paint would
go on but I used a four-inch foam roller and it went on like a charm. I also used the paint on the plywood too.
Choosing the material for the top took longer than anything! We discussed many different types
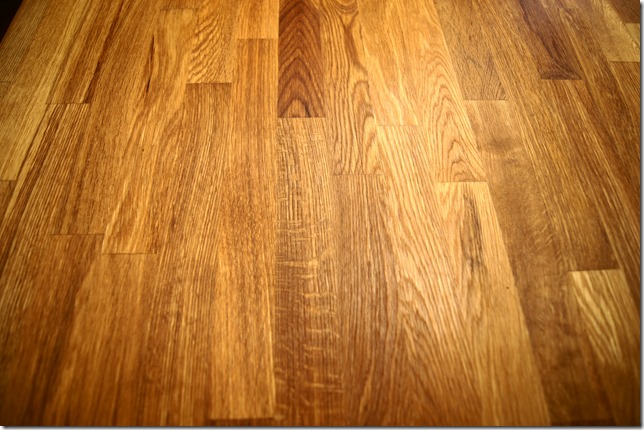
of surfaces but decided to go with the IKEA Oak Butcher Block. It just seemed logical for our rustic styled
home. I think we gave around $200.00 for the 73 1/4 x 39 3/8 x 1 1/2 .
We decided against staining the top because we didn’t think it would penetrate the wood very well. I did
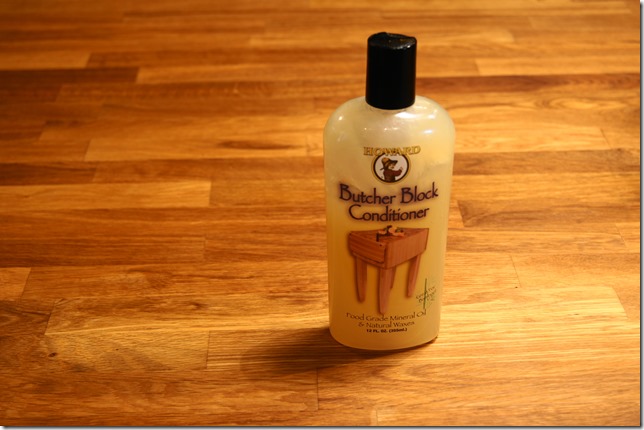
a little research and found Howard Butcher Block Conditioner at Home Depot. It is food grade
mineral oil and natural waxes, making it food safe. I have applied the conditioner once a month.
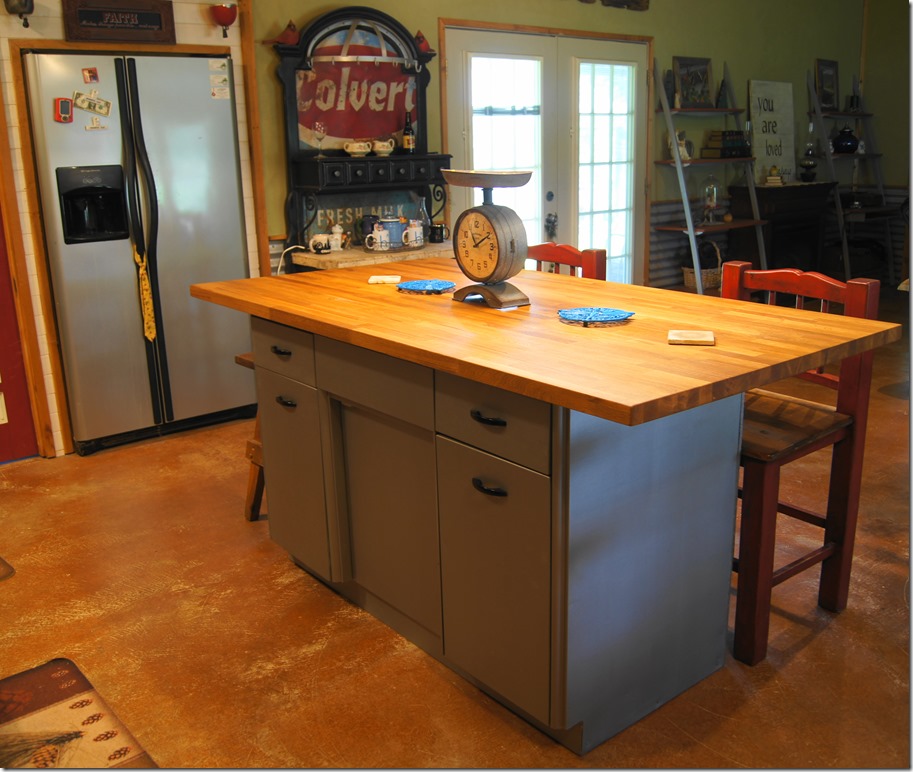
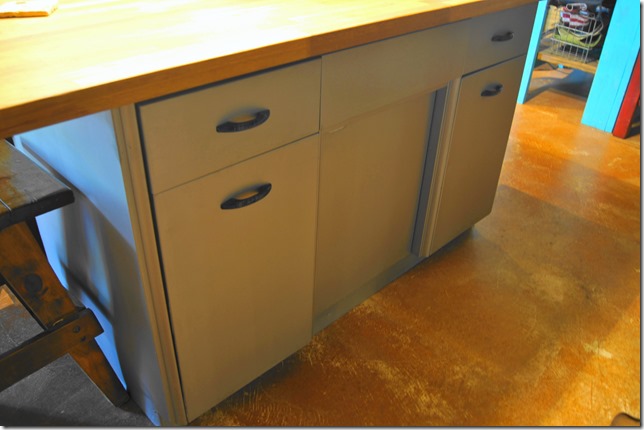
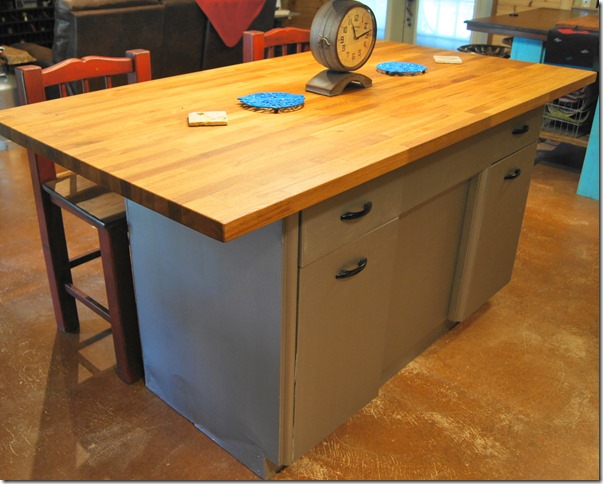
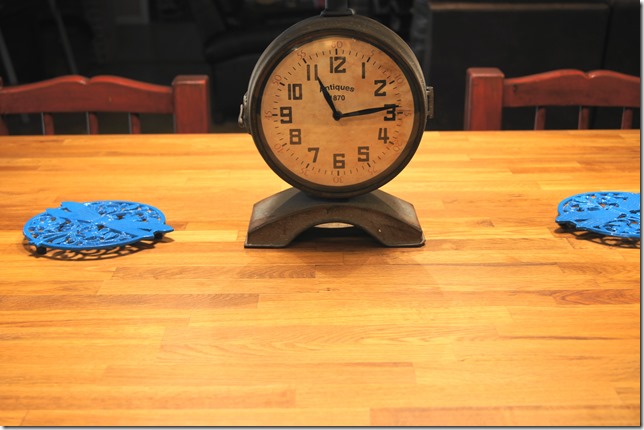
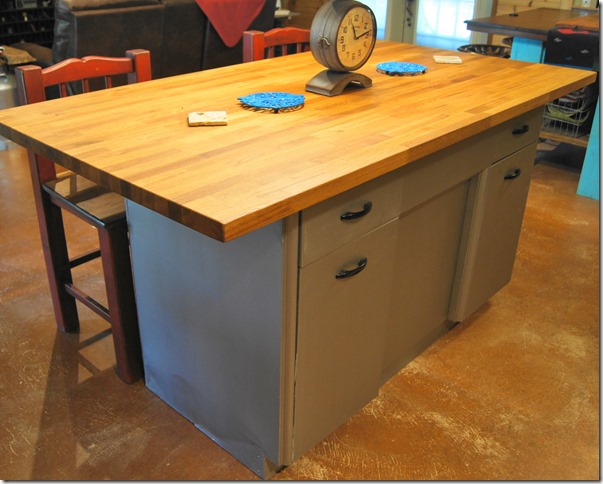
Here are a few photos of the completed island!
I am so in love with our new island.
Another angle![]()
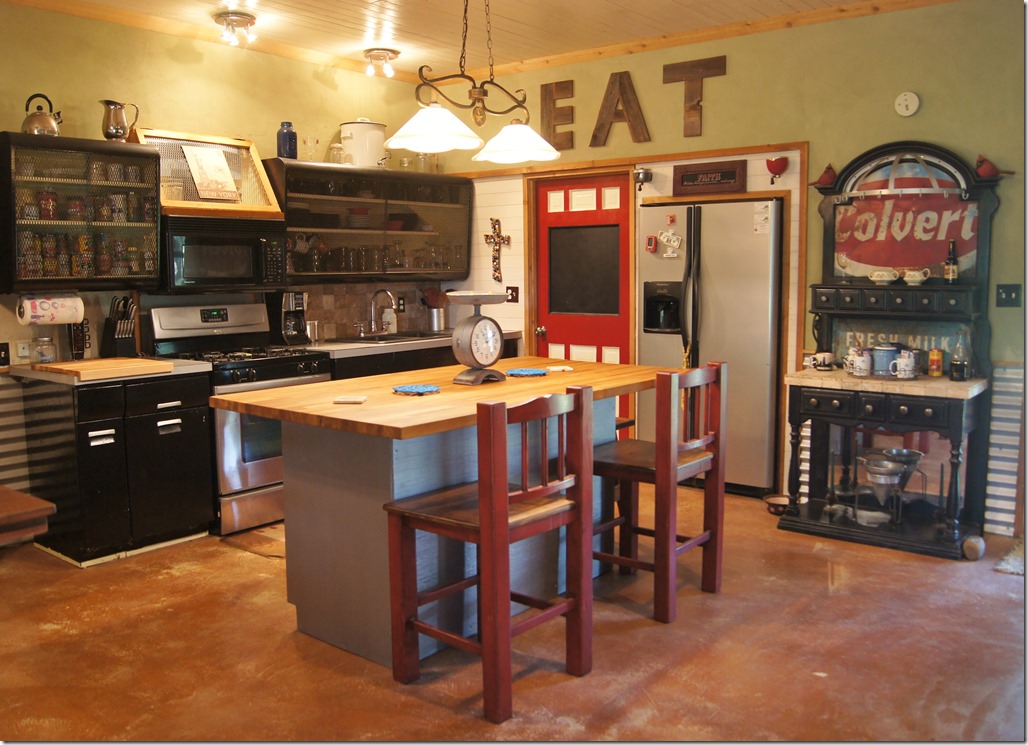
A view of our kitchen. The black cabinets are metal as well so everything tied in beautifully together. As you can see, I do not have a lot of cabinets because behind the red door is a wonderful pantry. That allows us to have more room when family and friends stop by. Nothing better than sitting around visiting with family while you cook. We hope you have enjoyed watching our rusted out cabinet transform into our new butcher block kitchen island.

14 Responses to Rusty Metal Cabinet Turned Into Butcher Block Island
Andrew says:
Love the island! Great job!
Candace says:
amazing how a rusted cabinet can be brought back to life! love what you do 🙂
Joani says:
I love it. It looks really good. Would love to see behind the “red” door.
Char says:
Love the makeover…but you really “got me” when you mentioned the pantry behind the red door. I would sooo love to have a pantry!
Karen Young says:
The two of you did a great job!!!! hard to believe its the rusty junk find that turned out such a beautiful island. Ray
Liz van der Werff says:
Your kitchen is beautiful. You have such a flair for design and decorating.
Dana says:
Levi and I are in love! Amazing job Tina, I just love your home!
Linda Louise Weeks says:
Yes, so for all the work you did, and all the collecting and refurbishing, you have the coolest kitchen going! I’d love a kitchen like yours too!
Shirley says:
I just removed a sink from a metal cabinet very similiar to your metal cabinets! They too are rusted in the bottom and it is not very square..I had used in the potting shed,and decided I wanted to “try ” to refurbish the sink, with built in drain board for our kitchen re-do in the near future. my honey added 2×4 to the bottom to help stable it and added plywood top in place of the sink..so I can still use it..I do like your Idea!!, but my kitchen is not near big enough for the island 🙁 I think your kitchen looks great!!
Megan @ Our Pinteresting Family says:
That is so amazing! What a transformation. 🙂
Toni Teague says:
Thank you for re-purposing an already antique. This item turned out great. You did a fantastic job. Thanks for sharing the before and after. I enjoyed seeing the item in your wonderful kitchen. You have great style.
Nicole says:
How did you secure the butcherblock top to the metal base?
Ruby says:
Beautiful! How did you attach the butcher block to the metal cabinet?
Tina Burrows says:
Hi Ruby! Hope all is well with you on this cold winter morning! Our sink had a lip railing that helped hold the old sink in. So, we cut 2″ boards to go on all four sides and screwed them to the metal cabinet and then used angle brackets which came with our butcher block top. You can find them at any hardware store. Here is a link to one that is similar to ours.