My favorite thing to do is to go junking and give new life to discarded materials.We only need to have a little imagination. From this piece of tin, you can make dragonflies, butterflies, angel wings.I want to show you the process you go through to create this particular dragonfly. My dear husband (Honey) and I work on a lot of these projects together and through this journey you will get to know him as well. He is a gifted fabricator of anything metal![]()
Here is how we created this sweet dragonfly!
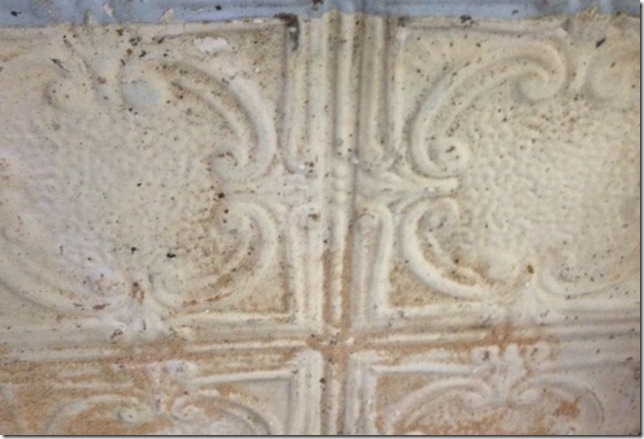
I start with an antique ceiling tile and use my pattern to trace the wings out on the tile.
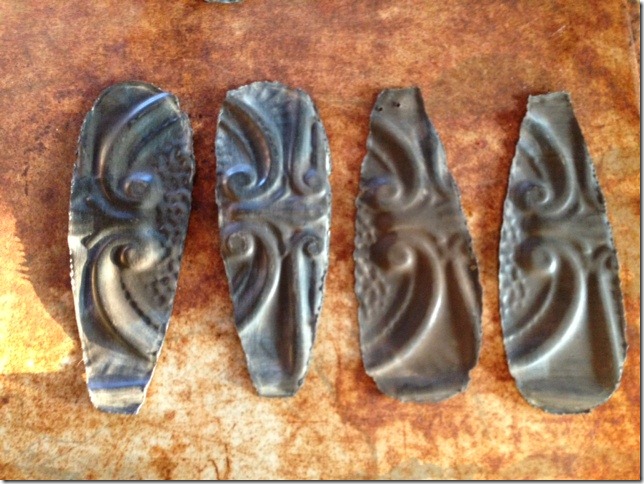
Honey cuts the wings out with a cutting torch for me!
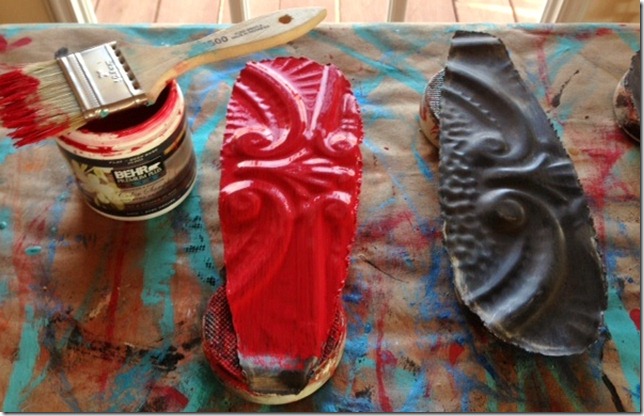
Next thing is you need to decide what color you want to paint the wings.
I chose red! I put two coats of paint on each wing.
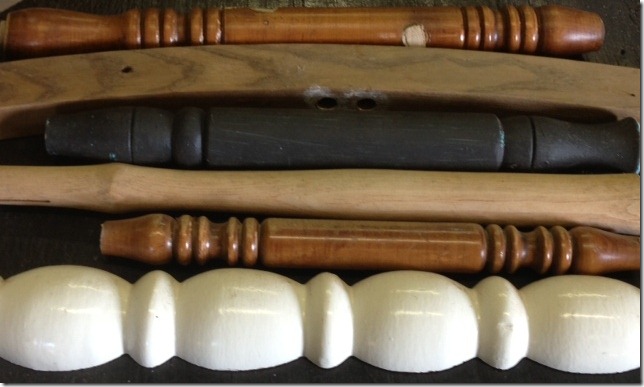
The possibilities are endless on what you choose to use for the body. I am going to
use an arm off an old rocking chair. Paint it any color that you like.
I used brown as my base and metallic white for the topcoat and distressed it a little.
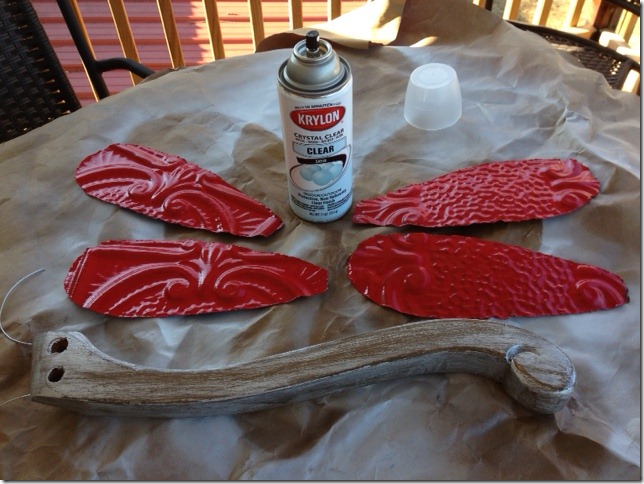
Before I begin to put it together, I spray a clear sealer for protection.
Lay the body, face down and line your wings up on the back.
Play with different angles to get the look you like.
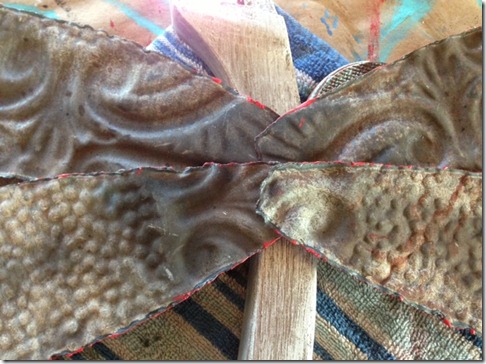
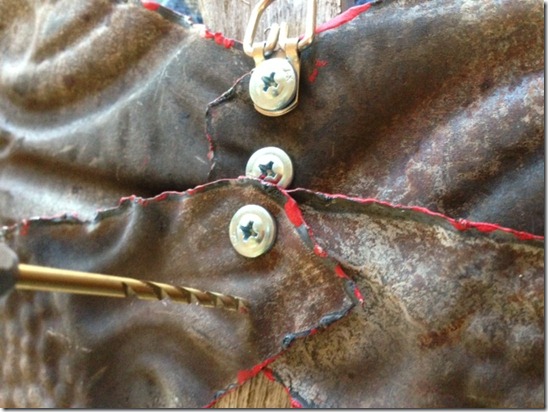
Start at the top and drill through the wings and continuing slightly
through the wood. You will attach the hanger with the first screw.
Do not tighten completely because you will want to adjust the angle
of your wings before you drill the second hole. I use two screws per
wing. Make sure to go back and tighten all the screws. My picture of
course is of the last screw. I forgot to take the photo when I started![]()
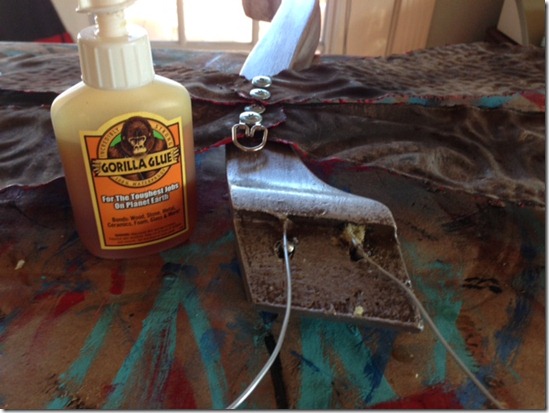
I drill a hole for the antennas and use just a dab of gorilla glue to hold
them in place.
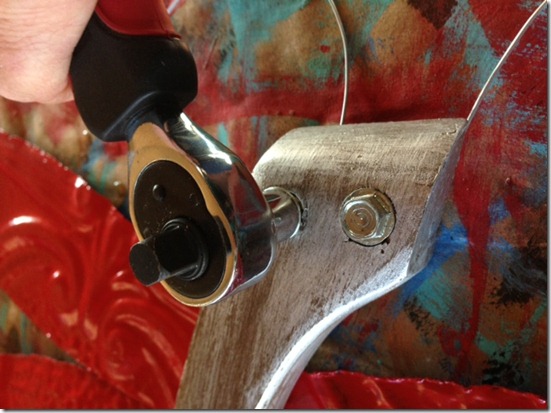
The beautiful thing about this type of art, is you can use anything you
have lying around for the body, antennas and eyes. We had a box of these
screws and I loved the look!
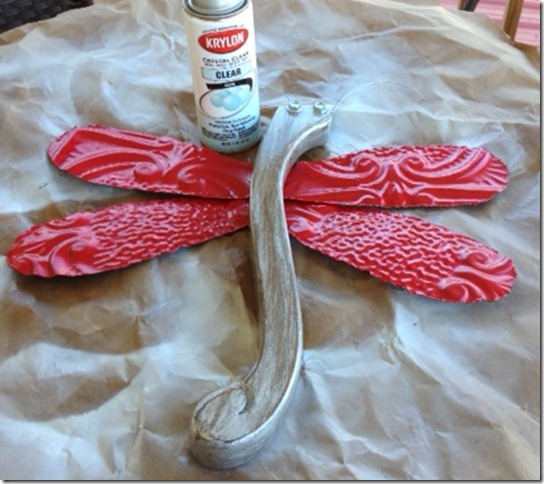
Don’t forget to spray the dragonfly again with a good clear sealer.
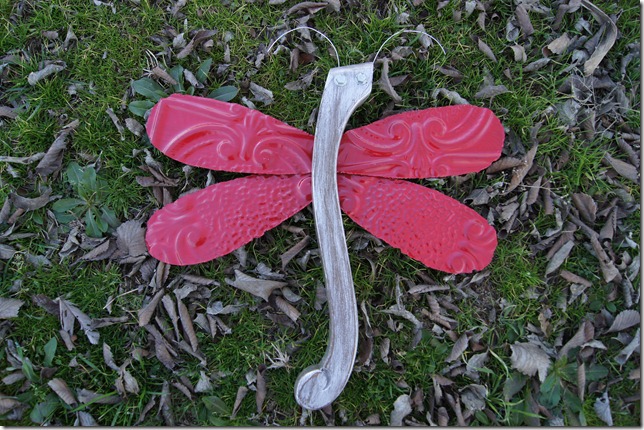
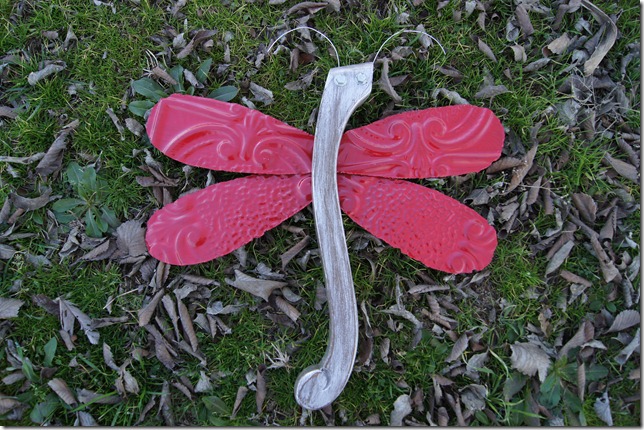
This is our dragonfly made from repurposed materials. I hope you enjoyed
learning about the process of making a dragonfly![]() They are wonderful for inside
They are wonderful for inside
or outside use!

8 Responses to The Making of a Dragonfly
Barbara @ allmylivesnow.blogspot.com says:
Stopped by to see your step-by-step on making a dragonfly. I have some ideas after viewing how you created this particular dragonfly. Found you via fleamarketgardening. I’m following you on google+ and liked your Etsy page. Great stuff, can’t wait to see what you come up with next.
Angela says:
Hi, I love your Dragonfly! Do I need a special drill bit to go through metal? Special screws? Like metal screws or a metal drill bit? Thanks so much!
Tina Burrows says:
Hi Angela,
I use 3/4 metal or wood screws. Also, on the drill bit, a metal bit works best! Thanks for stopping by!
Tina Burrows says:
I use metal bits in my cordless scree gun.
Libby says:
Easy to follow instructions ! Now, just have to find materials.
Libby says:
Easy to follow directions !
Making dreamy dragonflies for the garden | Flea Market Gardening says:
[…] To see another tutorial on making dragonflies see Tina Burrows Repurposed-Life blog post: The Making of a Dragonfly […]
barbara whittaker says:
Love your dragonfly. Great instructions. Love to recycle. Thank you for posting How To.