Have you ever had things lying around taking up space and just collecting
dust because you just haven’t had the light bulb going off in your head moment?
These four doors have been that for me![]() They have been sitting against
They have been sitting against
the wall in the shop for two years. Well, the light bulb finally went off! I shared the vision
I had for each door with Honey and he said no problem! On his vacation, he started
on the doors. I would love to tell you that I have step by step instructions here but I
don’t. My dear Honey still doesn’t get the DIY blog thing and importance of taking photos
after each step. While I was in my studio, working on dragonflies, he began to give
new life to each door as per my vision. By the time I got back, he had most of the building finished.
That’s how it goes when you live with the Energizer bunny!!
I will share with you a few of the photos I was able to capture of each door!
He really did an amazing job on each of them!! Enjoy the photos![]()
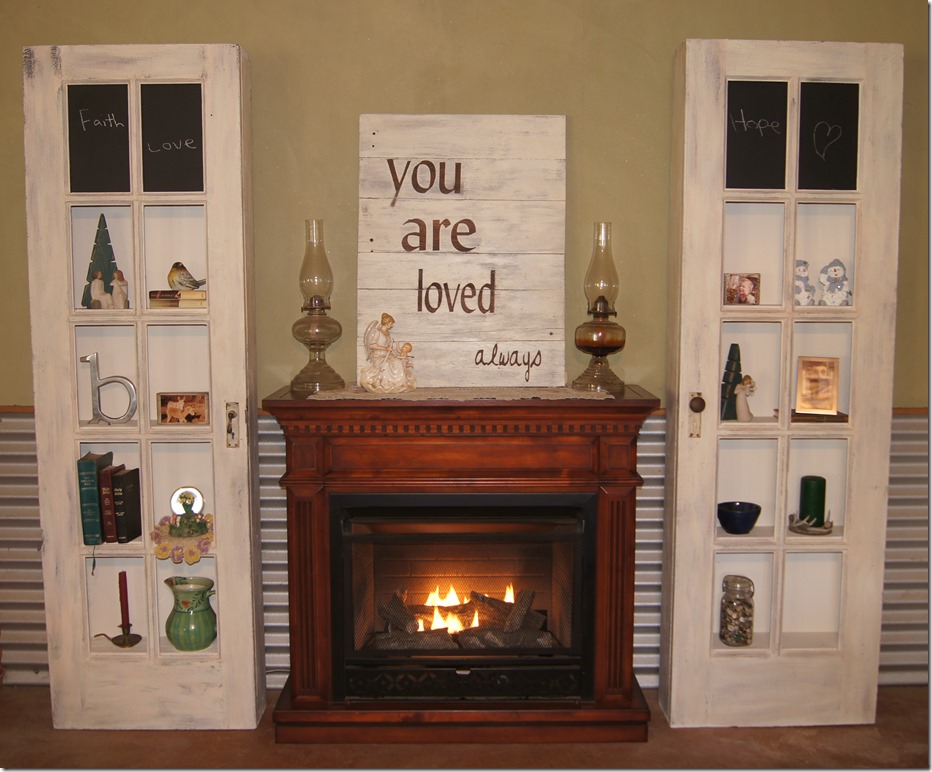
Door #1 Set of vintage french doors
Here is a photo of one of the french doors. He used 1×6 boards to
frame around the door and make the shelves. I used some Behr paint with
primer that I had on hand to put a coat on the doors then finished with
Annie Sloan Old White Chalk Paint. After the paint had dried, I applied clear wax
and aging cream to achieve the distressed aged look.
Love the softness of the old white chalk paint.
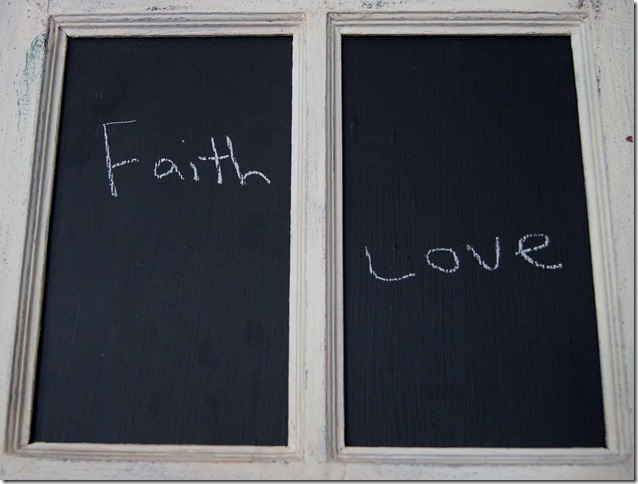
We inserted chalkboards in the top openings. As you can see, old lefty here has terrible handwriting!
Gotta love chalkboards![]()
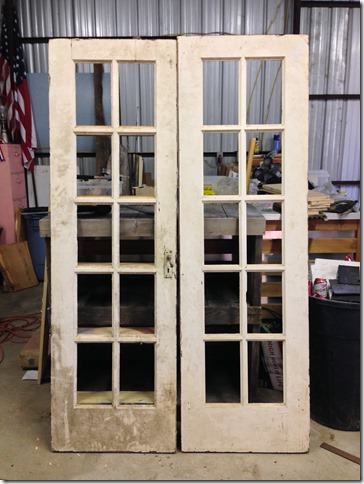
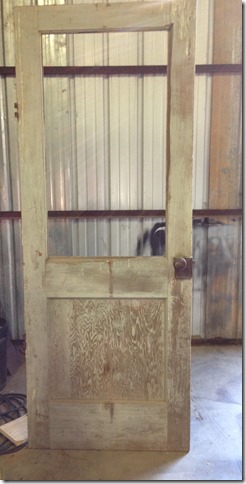
Door #2 Before shot
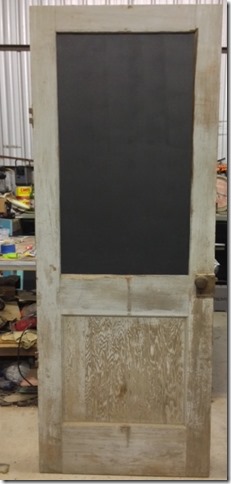
Honey cut out a piece of smooth sanded plywood
and then I applied a coat of primer. Once that dried, I
painted the plywood with chalkboard paint. I believe I
put four coats of chalkboard paint. He then inserted the plywood
and use a nail gun to attach the chalkboard to the door.
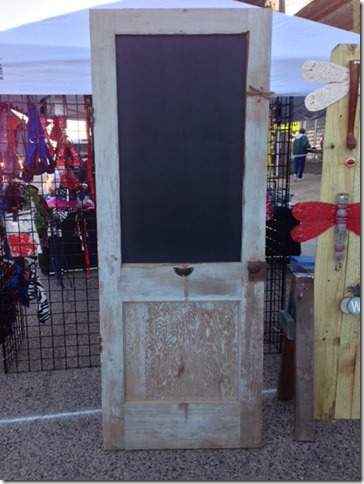
We used a door pull to hold the chalk, upside of course.
Also, added a brass dragonfly hook on the right side too!
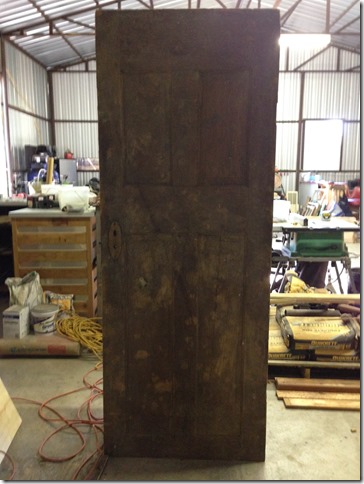
Door #3 Before
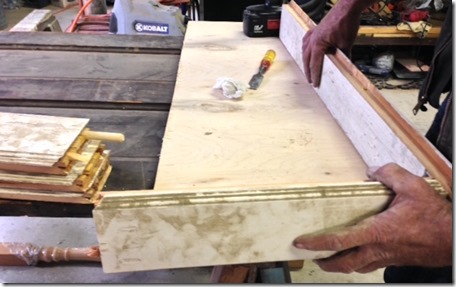
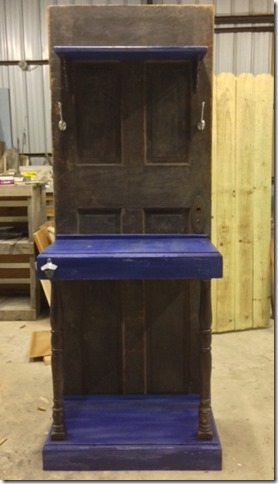
Honey built the table for this door out of an old door that couldn’t be saved.
Only got a couple of photos of this one before he finished.
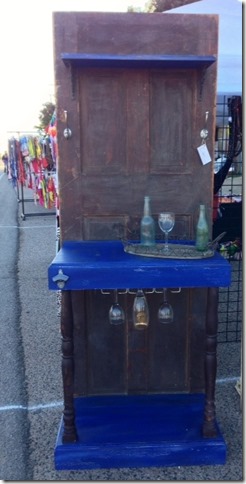
I painted the door with CeCe Caldwell’s Maine Harbor Blue
with a touch of Georgia Clay and painted the spindles with CeCe’s
Virginia Chestnut. Added a wine glass rack, couple of hooks and
a bottle opener to the drink station!
We ended up selling this door![]()
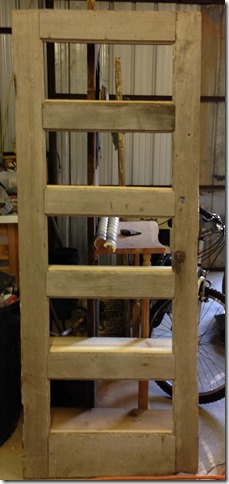
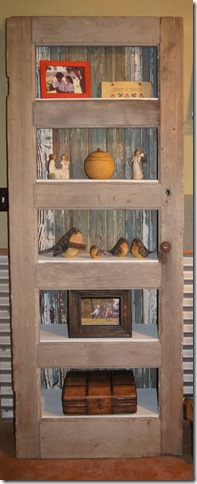
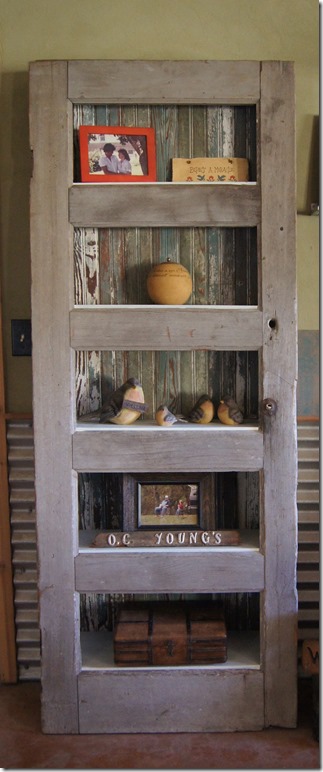
And finally, Our pride and joy! Door #4 This is our leaning door that fits right up to the wall.
Yes, I did capture a few shots of this baby!
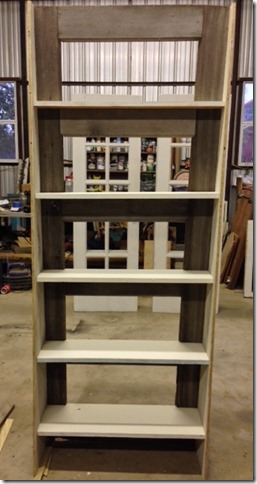
This is our leaning door that fits right up to
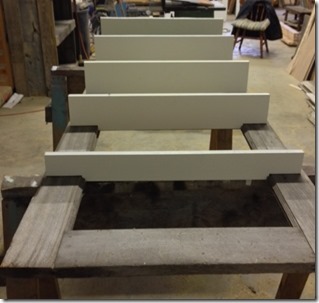
the wall. Each shelf is a different width.
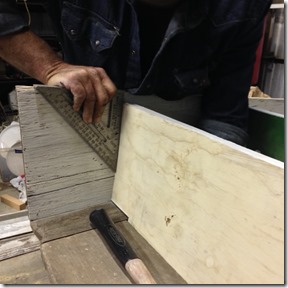
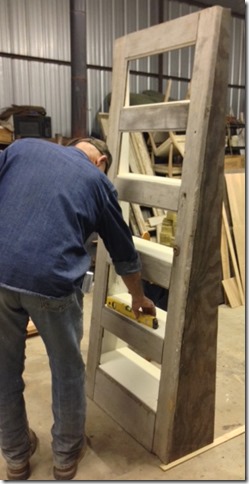
Honey is working on getting the angle just right. Remember, this door is a leaner
so everything is built on an angle. This one was way over my head![]()
Honey making sure everything is level! Gosh, I have to get a little mushy here
and say I love this man![]()
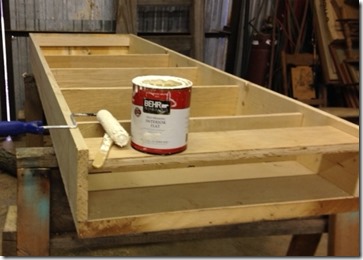
View before the back was on.
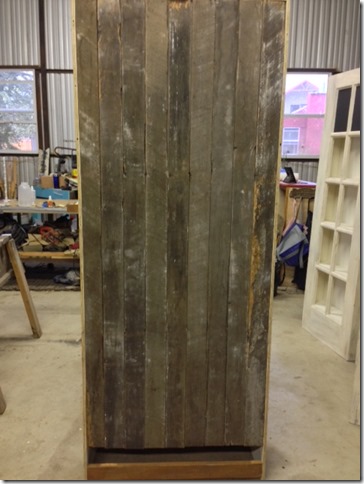
Old floor boards that we sanded down and sealed used
for the back. Honey attached the boards using a nail gun!
What is that line, If these walls could talk. That is what
I wonder with this door, if only it could share it’s history![]()
I love the colors of the old floor boards!
Here is a photo that shows how each shelf is a different depth.
My absolute favorite door! Love the weathered and rustic look.
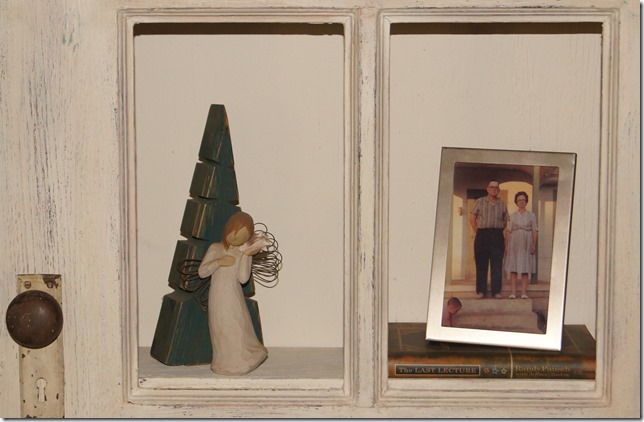
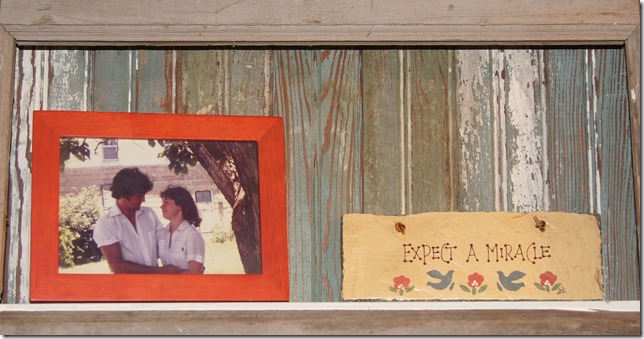
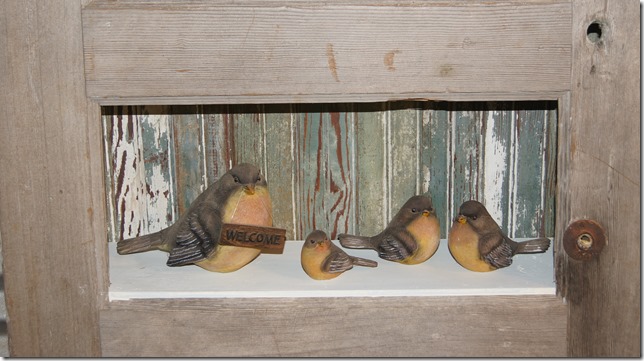
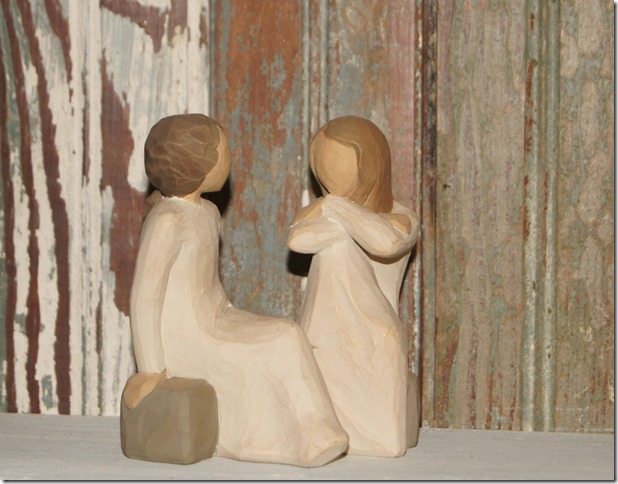
I’ll let you in on a secret. I love to use a few family pictures and treasures
in every post, to see if my family notices and they do![]() Hope you enjoyed
Hope you enjoyed
checking our repurposed doors as much as we enjoy sharing our projects with you.


9 Responses to Four Ways To Give New Life To Old Doors
Andrew says:
Absolutely beautiful!!!
Karen Young says:
The two of you did a wonderful job on the doors!! ♥ ♥ The picture of Mom and Dad must have been taken in the early 60’s and they would have been in their early 50’s but I can’t tell what grandkid is in the lower left unless it is your Honey. The mail box topper (O C Young’s) is the one I made in 1957 before I went in the service. Ray
Tina says:
You are so observant!! I wasn’t sure of when or the age, so glad to know. The kid on the block of wood is Andrew, when he was two. The photo on the old weathered door at the bottom with the mail box topper is Granddad and Andrew fishing at the farm. I think he was around 3 or 4 at the time:)
Sharon says:
Love the doors. But you mentioned something you called “aging cream”. Have not heard of this – the beauty industry sells only the opposite! What is aging cream for wood, please?
Tina Burrows says:
Hi Sharon, The cream I used was CC Caldwell’s Dark Aging Cream after I painted and applied the clear wax. It basically gives the clear wax a darker aged look.
8 DIY Bookshelves For Your Home - DIY Dump says:
[…] Found on Repurposed-Life.com […]
Joy Scanlon says:
I absolutely adore these old door treatments, really brilliant ideas but my definite favourite is the last one. I call it ” the Leaning Door of Honey and Tina”. It’s shabby chic and all the little family mementoes add so much to it’s rustic charm. Congratulations to you both on a brilliant partnership and continue to keep coming up with fantastic brain waves. I’ve only just realised that your post is three years old but it’s my first time finding it. Joy Scanlon
Repurposed Door Decor! - THE NESTED DESIGN COMPANY says:
[…] Repurposed Life Book Case […]
10 DIY Projects Re-purposing Old Doors - Simphome says:
[…] job and your book shelf is ready! It is simple and super unique for your home décor art. Door 1, […]